Picture Medley
Build a photographic mosaic composite using your photo collection.

Features
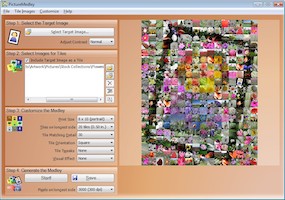
Create your own Picture Medley in four easy steps!
Smart defaults allow you to focus on medley creation.
Many customization options give you creative flexibility.
- Easily include the Target image as a tile.
- Override the smart defaults in the “Advanced Options” dialog.
- Disable the “use tiles only once” feature.
Transparency is supported in Medley imagery, enabling very creative effects.
Several visual effects including a “Frost” option where the overall medley is tinted slightly with the colors of the target image, which helps to make the target image more visible especially when you don’t have enough of the right colors in the image tiles.
Project files allow you to pick up where you left off with a previous medley effort, and also include details about the generated medley to help you find specific tiles or understand how the tiles were used.
HTML output uses ImageMap for an interactive Medley experience!
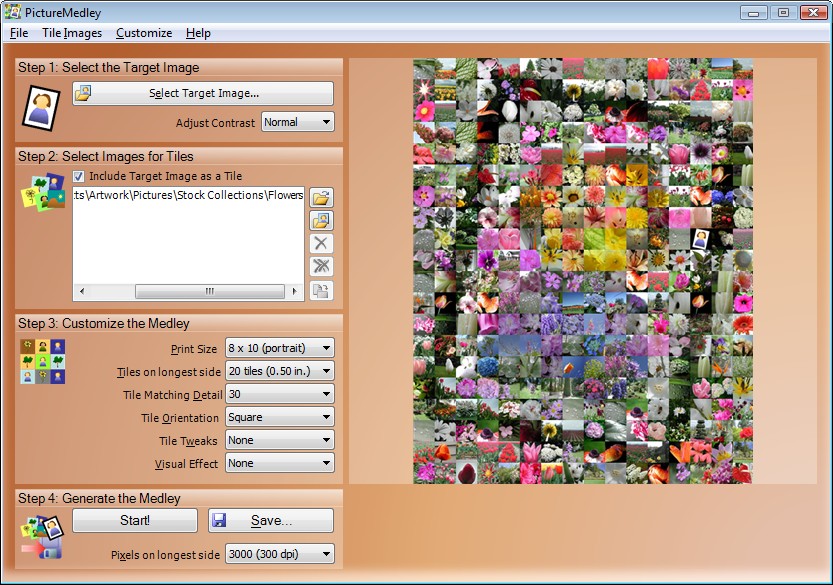
Using Picture Medley
Once you download and install Picture Medley, you will be on your way to creating your own composition in four easy steps.
Step 1: Select The Target Image
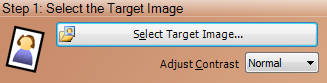
Clicking the large button will allow you to browse for a file on your hard drive to use as the Target Image. Alternatively, you can access this functionality from the File menu, by right-clicking the large target rectangle, or by dragging a file from Windows Explorer into the target rectangle.
Adjust Contrast: Sometimes, increasing the contrast of the target image will help to exaggerate the details in the image, helping the final medley be more recognizable.
Step 2: Select Source Images for Tiles
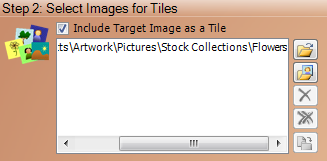
Every medley is made up of a bunch of images. These have to come from somewhere!
- Click the “Add Folder” button to add a folder whose contents will be used for source images.
- Click the “Add Files” button to add one or more individual files to be used for source images.
- Select items in the list (put a checkmark in the box) to “pin” them in the medley. Pinned images will be guaranteed to be included in the medley, even if they are a less-than-perfect fit. Note: Be careful to use this feature judiciously: pinning too many images will reduce the quality of the final medley.
Step 3: Customize the medley
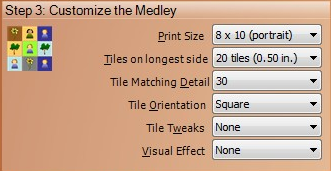
To get started, select a Print Size from the drop-down list, which will select default settings appropriate for a print of the selected size.
Print Size: This list is populated with a variety of common print sizes, in inches. Select an entry from this list that corresponds to the size of the print that you plan to generate using the output of the program.
Tiles on Longest Side: The “Tiles on Longest Side” option allows you to control the density of the grid used for tile layout.
Step 4: Generate the medley
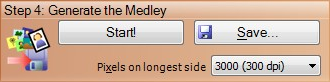
Start!
Once you’ve established the options for the medley, click this large button to kick off the process, then sit back and watch the medley take shape.
Save…
The application will create a high quality JPEG or PNG file at a pixel resolution of your choosing.
Once you click the Save button you will be prompted for the name and location of the image to generate. The software will then proceed through the in-memory representation of the medley, create the final image, and save it to disk. Since the software is re-loading the individual tiles, this can take some time-consuming process for a large medley.
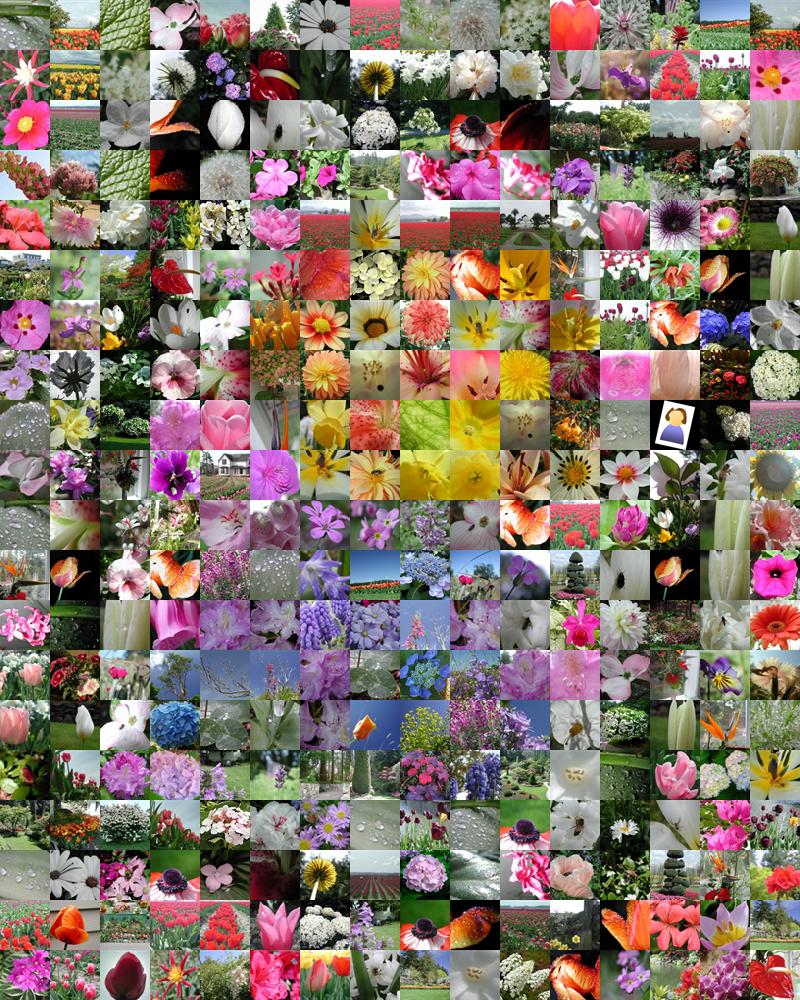
Gallery

Theme Samples
PictureMedley embodies the idea that the whole can be greater than the sum of its parts. You can combine a collection of related images to assemble an overall image that represents a theme that the images share in common.
Go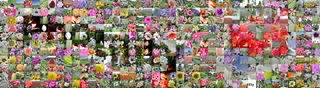
Effect Samples
PictureMedley includes a number of effects for tiles. Some are useful to help the target image show through, others are purely for fun.
Go
Create an amazing composite with your photos!
PictureMedley runs on Windows computers from Windows XP to Windows 10.
If you have a Mac, you can use software like Apple Bootcamp, Parallels Desktop, or Oracle VirtualBox to create a Windows environment, and PictureMedley will run fine on your Mac.